Control Your PC from WhatsApp? Yeah, That's a Thing Now
I want to build things that make a difference! That's why I started coding when I was in high school—and why I continue to do so today.
A Quick Heads Up Before We Start
If you're not familiar with the terminal (that black screen with commands), this might be a bit of a learning curve for you. But trust me, it's worth it. Once you get through the setup, the whole thing is pretty magical.
For those who have never touched the terminal before: don't worry, I'll explain every command step by step. Just copy-paste them exactly as shown and you should be fine. And if you mess up somewhere, you can always start fresh.
Now let's get into it.
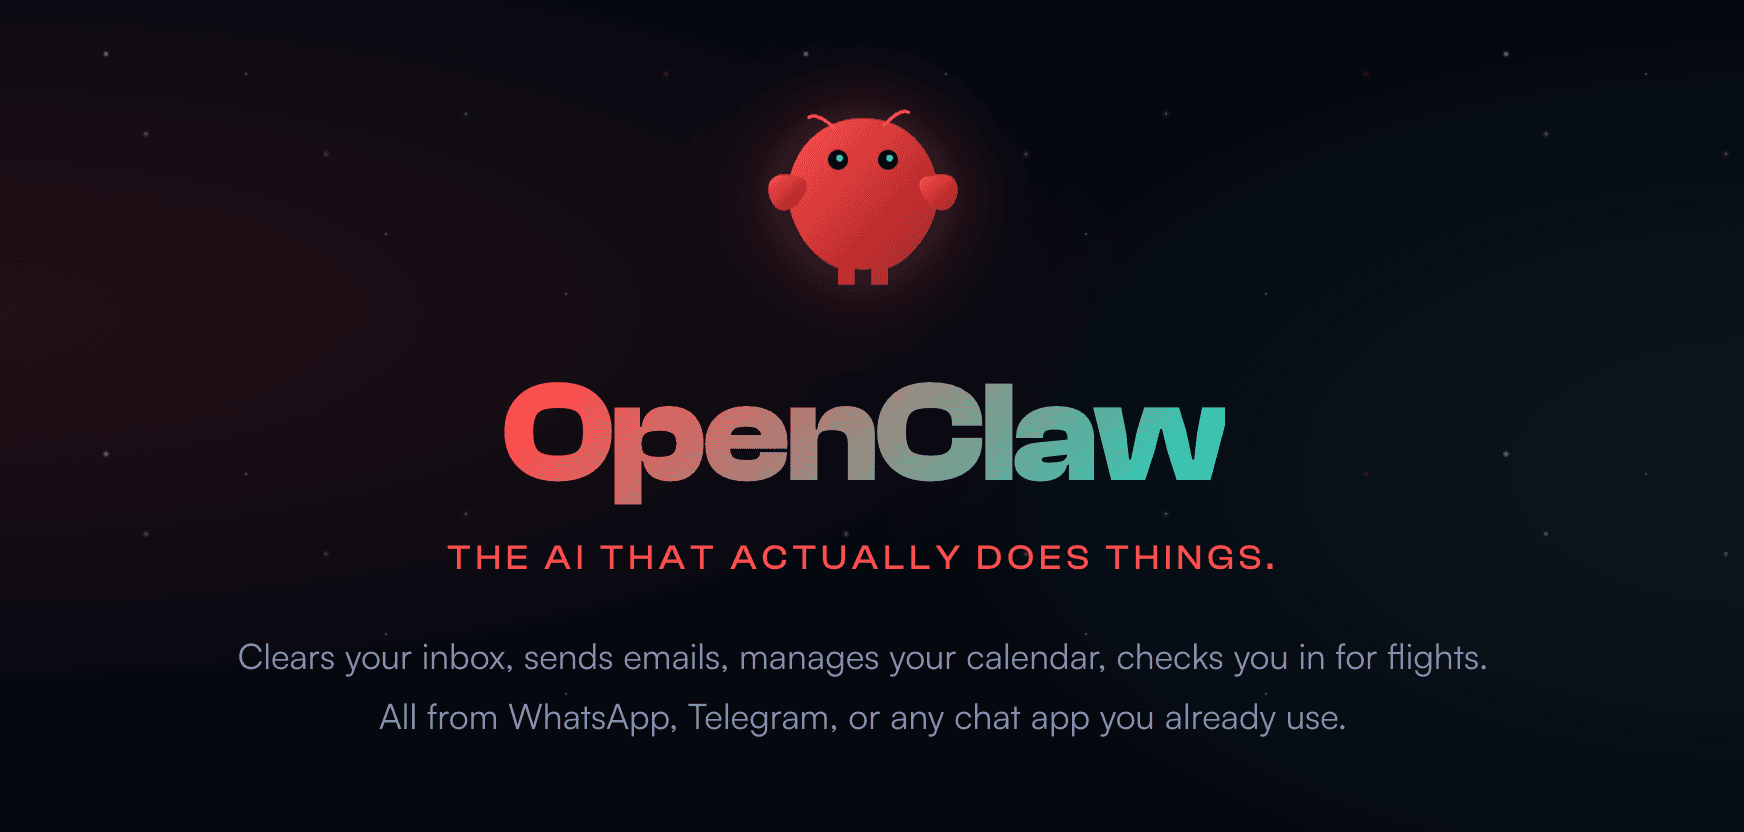
What's OpenClaw?
OpenClaw (previously known as Moltbot/Clawdbot) is basically an AI assistant that sits on your computer and connects to your WhatsApp. You send it a message, it does things on your PC and replies back. Simple as that.
Think about this scenario: You're grabbing chai with friends and suddenly remember that PDF your colleague needs is on your desktop at home. Instead of rushing back, you just text on WhatsApp: "Find the Q4 report on my desktop." Thirty seconds later, you have it. That's the vibe.
The project has 60,000+ GitHub stars and an active community, so support is pretty solid if you run into issues.
Official Links:
Documentation: https://docs.openclaw.ai
Official Website: https://openclaw.ai
Why Do You Need an API Key?
Before we get into the setup, let me explain this part because a lot of people get confused here.
OpenClaw itself is just a bridge between your WhatsApp and your computer. It doesn't have its own AI brain. It needs to connect to an AI model (like Claude or GPT) to understand your messages and figure out what to do.
Think of it like this: OpenClaw is the body, but it needs a brain to function. That brain is the AI model, and you access that brain through an API key.
The API key is basically your access pass to use these AI models. Every time you send a message, OpenClaw sends it to the AI, the AI processes it, and sends back instructions. You pay for this usage based on how many tokens (roughly words) you use.
Which AI Can You Use?
Here's the good part: OpenClaw works with multiple AI providers. You're not locked into one.
1. Anthropic (Claude)
This is the default and honestly works the best for this kind of task. Models like Claude Sonnet or Claude Opus are available.
- Get API Key: https://console.anthropic.com
2. OpenAI (GPT)
Yes, you can use GPT-4, GPT-4.5, or even GPT-5 if you have access. If you're already paying for ChatGPT Plus, you can use the OpenAI Codex option which uses your existing subscription.
- Get API Key: https://platform.openai.com/api-keys
3. Google Gemini
Another option if you prefer Google's ecosystem.
- Get API Key: https://aistudio.google.com/apikey
4. Local Models (Ollama)
If you don't want to pay for APIs at all, you can run local models on your machine. Free, but needs a decent computer (8GB+ RAM recommended).
- Download Ollama: https://ollama.ai
5. OpenRouter
This is like a proxy that gives you access to multiple models through one API key. Pretty convenient if you want to switch between models.
- Get API Key: https://openrouter.ai
The Cost Factor
OpenClaw itself is free and open-source. The cost comes from the AI API usage:
Using Anthropic Claude:
Light usage (few commands a day): ₹800-2,500/month
Moderate usage (regular file tasks): ₹2,500-6,000/month
Heavy usage (constant automation): ₹6,000-12,500/month
Using OpenAI:
Similar pricing, depends on which model you use
GPT-4 is cheaper than Claude Opus for most tasks
Using Local Models (Ollama):
Completely free
But your computer needs decent specs (8GB+ RAM recommended)
Setup Guide for Windows
Since most of us in India use Windows, let's start with that. OpenClaw runs on Windows through something called WSL2 (Windows Subsystem for Linux). Don't worry, it's easier than it sounds.
Step 1: Install WSL2
Open PowerShell as Administrator (Right-click on Start → Windows Terminal (Admin) or PowerShell (Admin))
Run this command:
wsl --install
This will install WSL2 with Ubuntu. Your computer might ask you to restart. Do that.
After restart, Ubuntu will open and ask you to create a username and password. Remember these, you'll need them.
Step 2: Enable Systemd (Required for OpenClaw)
Open Ubuntu from your Start menu and run these commands one by one:
sudo tee /etc/wsl.conf >/dev/null <<'EOF'
[boot]
systemd=true
EOF
Now go back to PowerShell (as Admin) and run:
wsl --shutdown
Open Ubuntu again and verify it worked:
systemctl --user status
If you see some output without errors, you're good.
Step 3: Install Node.js
Inside Ubuntu, run these commands:
curl -fsSL https://deb.nodesource.com/setup_22.x | sudo -E bash -
sudo apt-get install -y nodejs
Verify installation:
node --version
(Should show v22 or higher)
Step 4: Install OpenClaw
Still inside Ubuntu:
curl -fsSL https://molt.bot/install.sh | bash
exec bash
Step 5: Run the Setup Wizard
openclaw onboard --install-daemon
This opens an interactive wizard. Follow the prompts:
When it asks for AI provider, choose based on what API key you have
When it asks for WhatsApp, select it and scan the QR code with your phone
For different AI providers, you can use these specific commands:
For Anthropic (Claude):
openclaw onboard --auth-choice token
For OpenAI:
openclaw onboard --auth-choice openai-api-key
For OpenAI with ChatGPT subscription:
openclaw onboard --auth-choice openai-codex
For Google Gemini:
openclaw onboard --auth-choice gemini-api-key
Step 6: Connect WhatsApp
When the QR code appears on your screen:
Open WhatsApp on your phone
Go to Settings → Linked Devices
Tap "Link a Device"
Scan the QR code on your screen
Done!
Setup Guide for Mac
Mac setup is actually simpler since it runs natively.
Step 1: Install Homebrew (if you don't have it)
Open Terminal and run:
/bin/bash -c "$(curl -fsSL https://raw.githubusercontent.com/Homebrew/install/HEAD/install.sh)"
Step 2: Install Node.js
brew install node
Verify:
node --version
(Should show v22 or higher)
Step 3: Install OpenClaw
curl -fsSL https://molt.bot/install.sh | bash
exec bash
Step 4: Run the Setup Wizard
openclaw onboard --install-daemon
Follow the same prompts as Windows setup.
Step 5: Grant Permissions
This is important for Mac users. Go to: System Settings → Privacy & Security → Full Disk Access
Add your Terminal app (or iTerm if you use that).
Without this, OpenClaw won't be able to access your files when you're away.
Step 6: Connect WhatsApp
Same as Windows:
Open WhatsApp on your phone
Go to Settings → Linked Devices
Tap "Link a Device"
Scan the QR code
Setup Guide for Linux (Ubuntu/Debian)
Step 1: Install Node.js
curl -fsSL https://deb.nodesource.com/setup_22.x | sudo -E bash -
sudo apt-get install -y nodejs
Step 2: Install OpenClaw
curl -fsSL https://molt.bot/install.sh | bash
exec bash
Step 3: Run Setup Wizard
openclaw onboard --install-daemon
Step 4: Connect WhatsApp
Same process as above.
Useful Commands After Setup
Once everything is set up, here are some commands you'll use often:
Check if OpenClaw is running:
openclaw gateway status
Restart the service:
openclaw gateway restart
Stop the service:
openclaw gateway stop
Start the service:
openclaw gateway start
View available AI models:
openclaw models list
Switch to a different model:
openclaw models set openai/gpt-4.5-preview
Check for issues:
openclaw doctor
What Can You Actually Do With It?
Here are some real examples of messages you can send:
Find Files Remotely
"Find that screenshot I took yesterday in my Downloads folder"
"Search for the project proposal PDF on my desktop"
"Where is my resume file?"
Get System Info
"How much disk space do I have left?"
"What's running on my computer right now?"
"Show me my CPU and RAM usage"
Run Commands
"Create a new folder called 'Project X' on my desktop"
"Compress all the images in my Downloads folder"
"Delete all .tmp files from my Downloads"
Automate Tasks
"Check my calendar for tomorrow"
"Search my notes for meeting minutes from last week"
"Send me a summary of files modified today"
A Few Things to Keep in Mind
Security: This tool has access to your terminal, so be careful. The docs recommend using a separate WhatsApp number for the assistant instead of your personal one.
Keep your PC running: Obviously, your computer needs to be on and connected to the internet for this to work.
API costs can add up: If you're using it heavily, keep an eye on your API usage. Consider using local models (Ollama) if cost is a concern.
WSL2 for Windows users: Remember, on Windows, OpenClaw runs inside the Linux environment (WSL2), so your files will be accessed through that. The path structure might look different (
/mnt/c/Users/YourName/instead ofC:\Users\YourName\).
Troubleshooting
OpenClaw not responding?
openclaw doctor
This will check for common issues and try to fix them.
WhatsApp disconnected?
openclaw gateway restart
Then re-scan the QR code if needed.
Commands not working? Make sure the gateway is running:
openclaw gateway status
Need to start fresh?
openclaw reset
Final Thoughts
I've seen a lot of AI tools lately, but OpenClaw feels different because it's actually solving a real problem. Not everything needs to be a fancy app with a subscription, sometimes you just need to find that one file while you're not at home.
The setup might look intimidating at first (especially if you're new to terminal commands), but once it's running, it's basically magic. Text your computer, get things done.
If you run into issues, the community is pretty active on GitHub. Don't hesitate to open an issue or check existing discussions.
Have you tried any remote PC control tools before? Would love to know what you're using.
So that's it. Happy Coding!
Tags: #OpenClaw #AITools #WhatsAppAutomation #ProductivityHacks #TechForEveryone #RemoteWork #Windows #Mac #Linux